

A Step-by-Step Guide on How To Update Your Profile
You can add or change your profile photo in Microsoft 365 from Office.com, or while using Microsoft 365 applications on your computer or in a browser on your phone. Your photo will appear everywhere there's a profile photo circle in Microsoft 365.

To add your profile photo to Microsoft 365
Step 1: Find a photo you want to use and store it on your computer, or other location you can get to. The photo needs to be smaller than 4 MB and can be a .png, jpg, or .gif file.
Note: Please, use a suitable photo which can also be used as the photo for your SAR ID card.
Step 2: Sign in to Microsoft 365 with your account at office.com.
Step 3: Select the circle in the upper right hand corner of the page that shows your initials or an icon of a person.

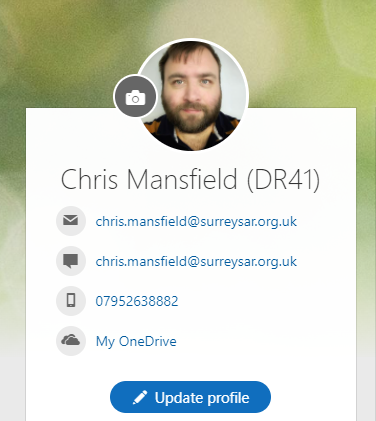
Step 4: In the My accounts pane, select the circle that shows your initials or an icon of a person. Change your photo in the pop-up that appears.

To add your mobile phone number to Microsoft 365
Step 1: Sign in to Microsoft 365 with your account at office.com.
Step 2: Select the circle in the upper right hand corner of the page that shows your initials or an icon of a person.
Step 3: Click on the “My Office profile”.

Step 4: Click on “Update Profile” then the edit mobile pencil next to the mobile number space.

Create a signature
Head over to Office.com. Enter your user name and password, and then select Sign in.
On the left nav bar, choose Outlook.
On the top nav bar, choose Settings > View all Outlook settings.
Under Email, choose Compose and reply.
Under Email signature, in the text box, type the signature you want to use. Use the formatting mini toolbar to change the appearance of the signature.
If you want your signature to display at the bottom of all outgoing items, including replies and forwards, select Default signatures for each.
Choose Save.